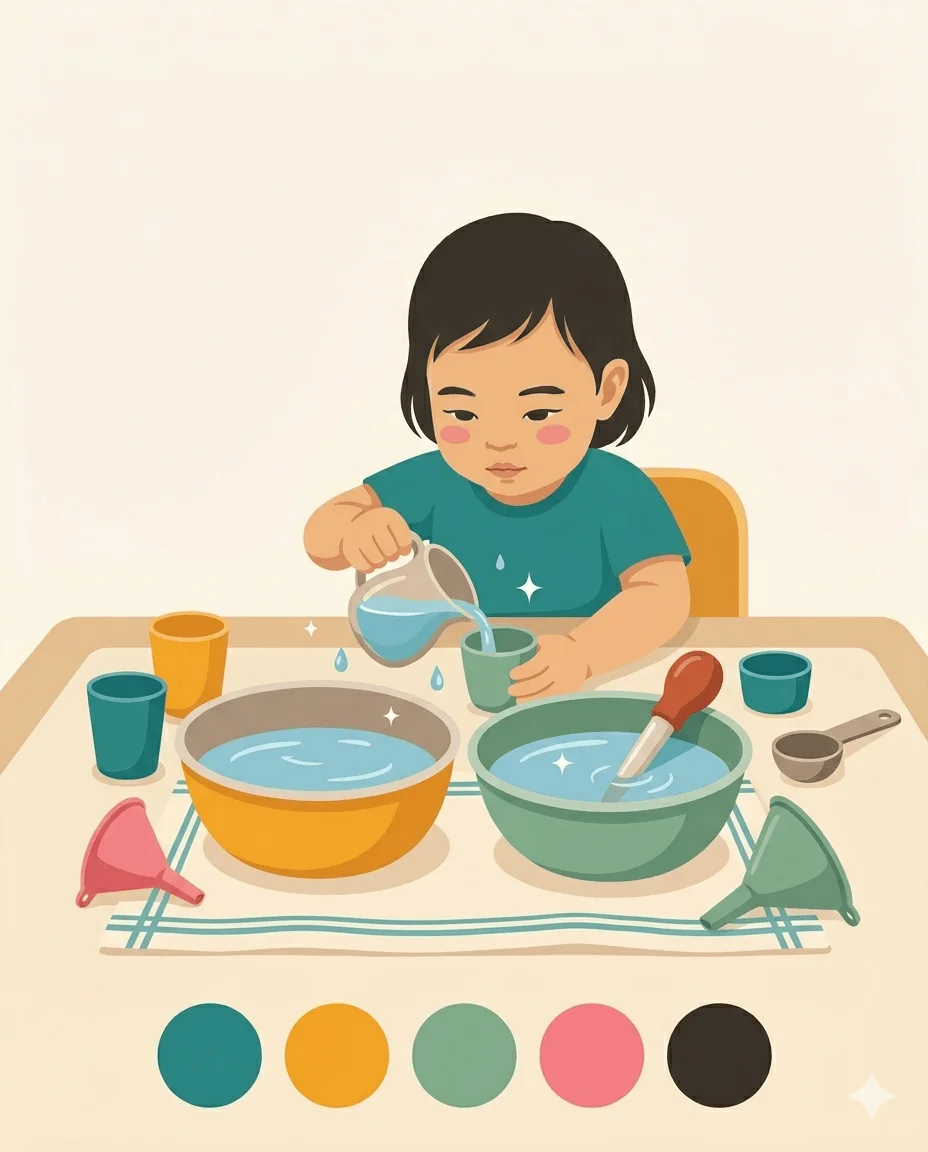
Set up a clean workspace at child height — a low table or highchair tray with a plastic mat underneath.
Lay out three simple base foods: toast fingers, crackers, and cucumber rounds.
1/4
Set up a clean workspace at child height — a low table or highchair tray with a plastic mat underneath.
Lay out three simple base foods: toast fingers, crackers, and cucumber rounds.
Offer three toppings in small bowls: cream cheese, grated cheese, and hummus, plus one your child already likes.
Say: 'You're the chef today! Can you make three different snacks for our taste test?'
Show your child how to spread with a spoon or butter knife: 'Scoop and spread — you're doing it!'
Let them create their three snacks however they like — don't correct messy spreading or unusual combinations.
Arrange the finished snacks on a plate and invite the family (or teddies) to the taste test: 'Chef [name]'s taste test is ready!'
Each taster tries a bite and gives feedback: 'Mmm, the crunchy one is my favourite! Which is yours, Chef?'
Parent tip
Set out mixing bowls and plastic containers before inviting your toddler in so the first minute feels smooth.
What success looks like
Back-and-forth between you — words, gestures, shared pretend. Connection is the real outcome here.
Children are far more willing to try foods they've had a hand in preparing — the investment of effort creates a sense of ownership that overrides the instinct to refuse. This activity positions your toddler as the chef, giving them age-appropriate tasks like spreading, sprinkling, and arranging, then holding a 'taste test' where everyone tries each creation. The combination of sensory food play (touching, smelling, and arranging ingredients) and the social ritual of a taste test addresses meal refusal through both familiarity and fun.
Why it helps
The EYFS framework identifies self-care skills — including independent feeding — as contributing to all areas of development, building autonomy, self-esteem and resilience. Research on paediatric feeding consistently shows that involving children in food preparation increases their willingness to taste new foods by up to 50%. The mechanism is twofold: repeated sensory exposure (handling ingredients builds familiarity) and the 'IKEA effect' (people value things more when they've helped create them). The taste test format also removes pressure by framing eating as a social experiment rather than a requirement — the child can say 'I don't like that one' without consequences, which paradoxically increases the likelihood they'll try the next bite.
Variations
Add a 'secret ingredient' step where your child closes their eyes and you add a tiny sprinkle of something new (sesame seeds, dried herbs) — the mystery element makes trying new flavours exciting.
Let your child create a menu by drawing pictures of their three snacks, adding a restaurant roleplay element.
For younger toddlers, simplify to one base and one topping and focus on the spreading action itself as the activity.
Safety tips
Use a child-safe spreading tool — a small silicone spatula or the back of a spoon — rather than a sharp knife.
Check all ingredients for allergens before the session, especially if other children will participate in the taste test.
Wipe down surfaces thoroughly before and after, and ensure your child washes hands before handling food.
Try one of these next
A few connected ideas chosen by theme, energy, set-up, and age fit.